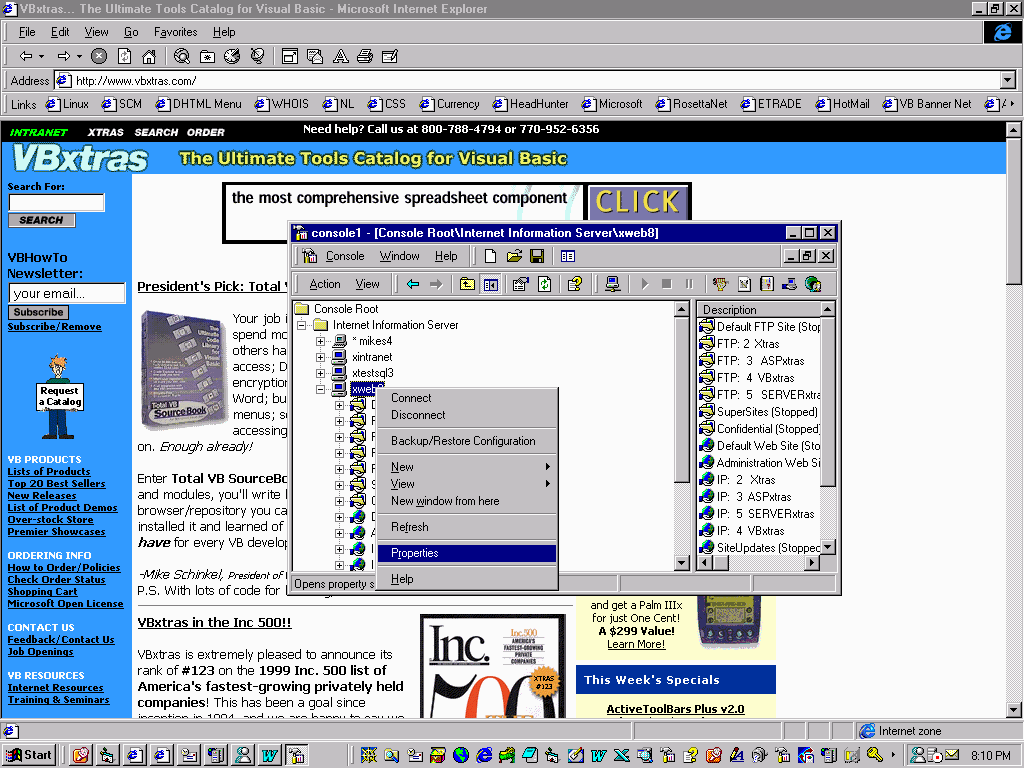
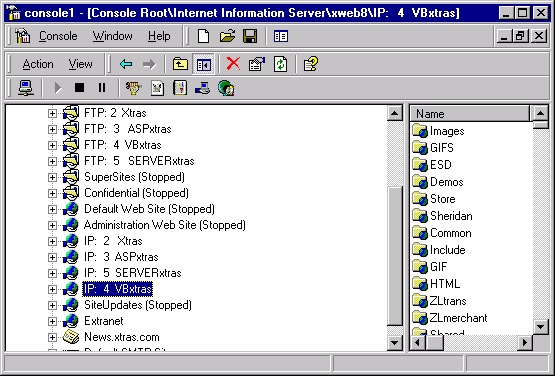
Step 1: Run Microsoft Management Console, highlight the web server, and select Properties (right mouse click):
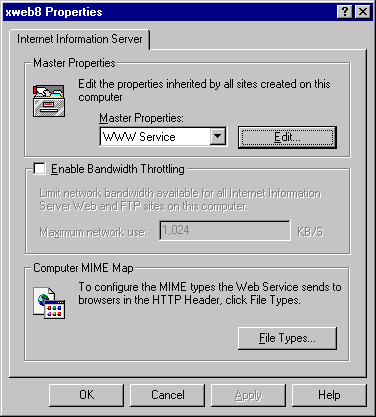
Step 2: Select File Types... :
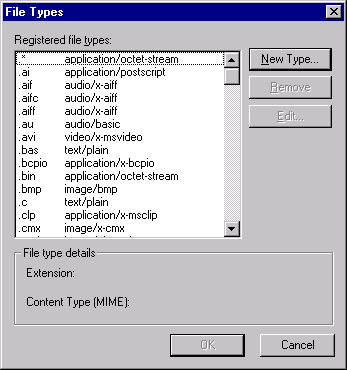
Step 3: Select New Type... :
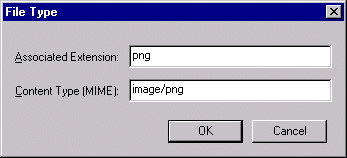
Step 4: Type in the Associated Extension (png) and Content Type (image/png), and click OK, OK, OK until you are back at the MMC looking at your web site:
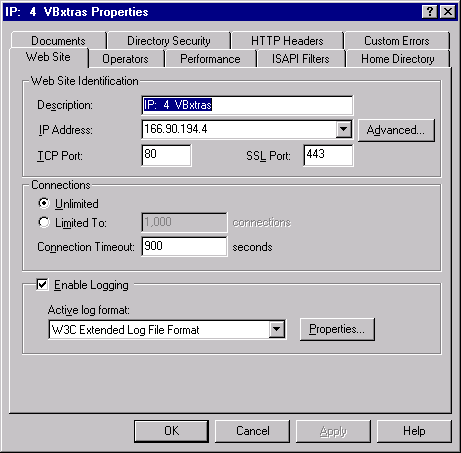
Step 5 (maybe): Select your specific web site and select Properties (right mouse click):
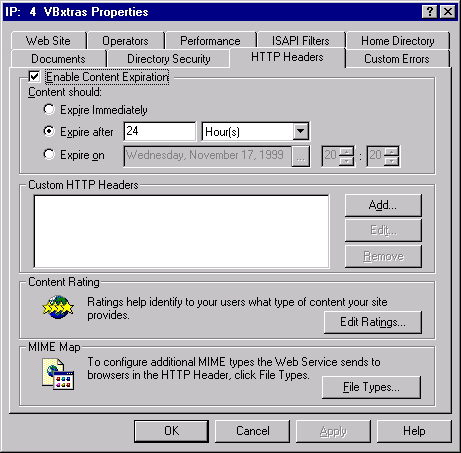
Step 6: When the Properties sheet comes up, select the HTTP Headers tab:
Step 7: Select File Types... at the bottom:
Step 8: Select New Type... :
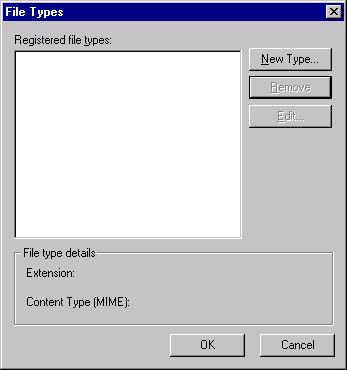
Step 9: Type in information about PNG (as in Step 4) and click OK, OK, OK until you are back at the MMC looking at your web site:

That should do it!